Testing My Base Node with a Python Sidekick
A Meshtastic experiment in message delivery, signal strength, and automated feedback.
Introduction
After getting my first two Heltec V3 units, I was eager to see what these little devices could really do. I set one up as a base node at home and took the other on a walk, powered by a USB power bank and connected to my phone. As I walked around the house sending messages, I kept an eye out for that little tick mark to confirm delivery. It worked... kind of. But it didn’t give me the kind of feedback I really wanted.
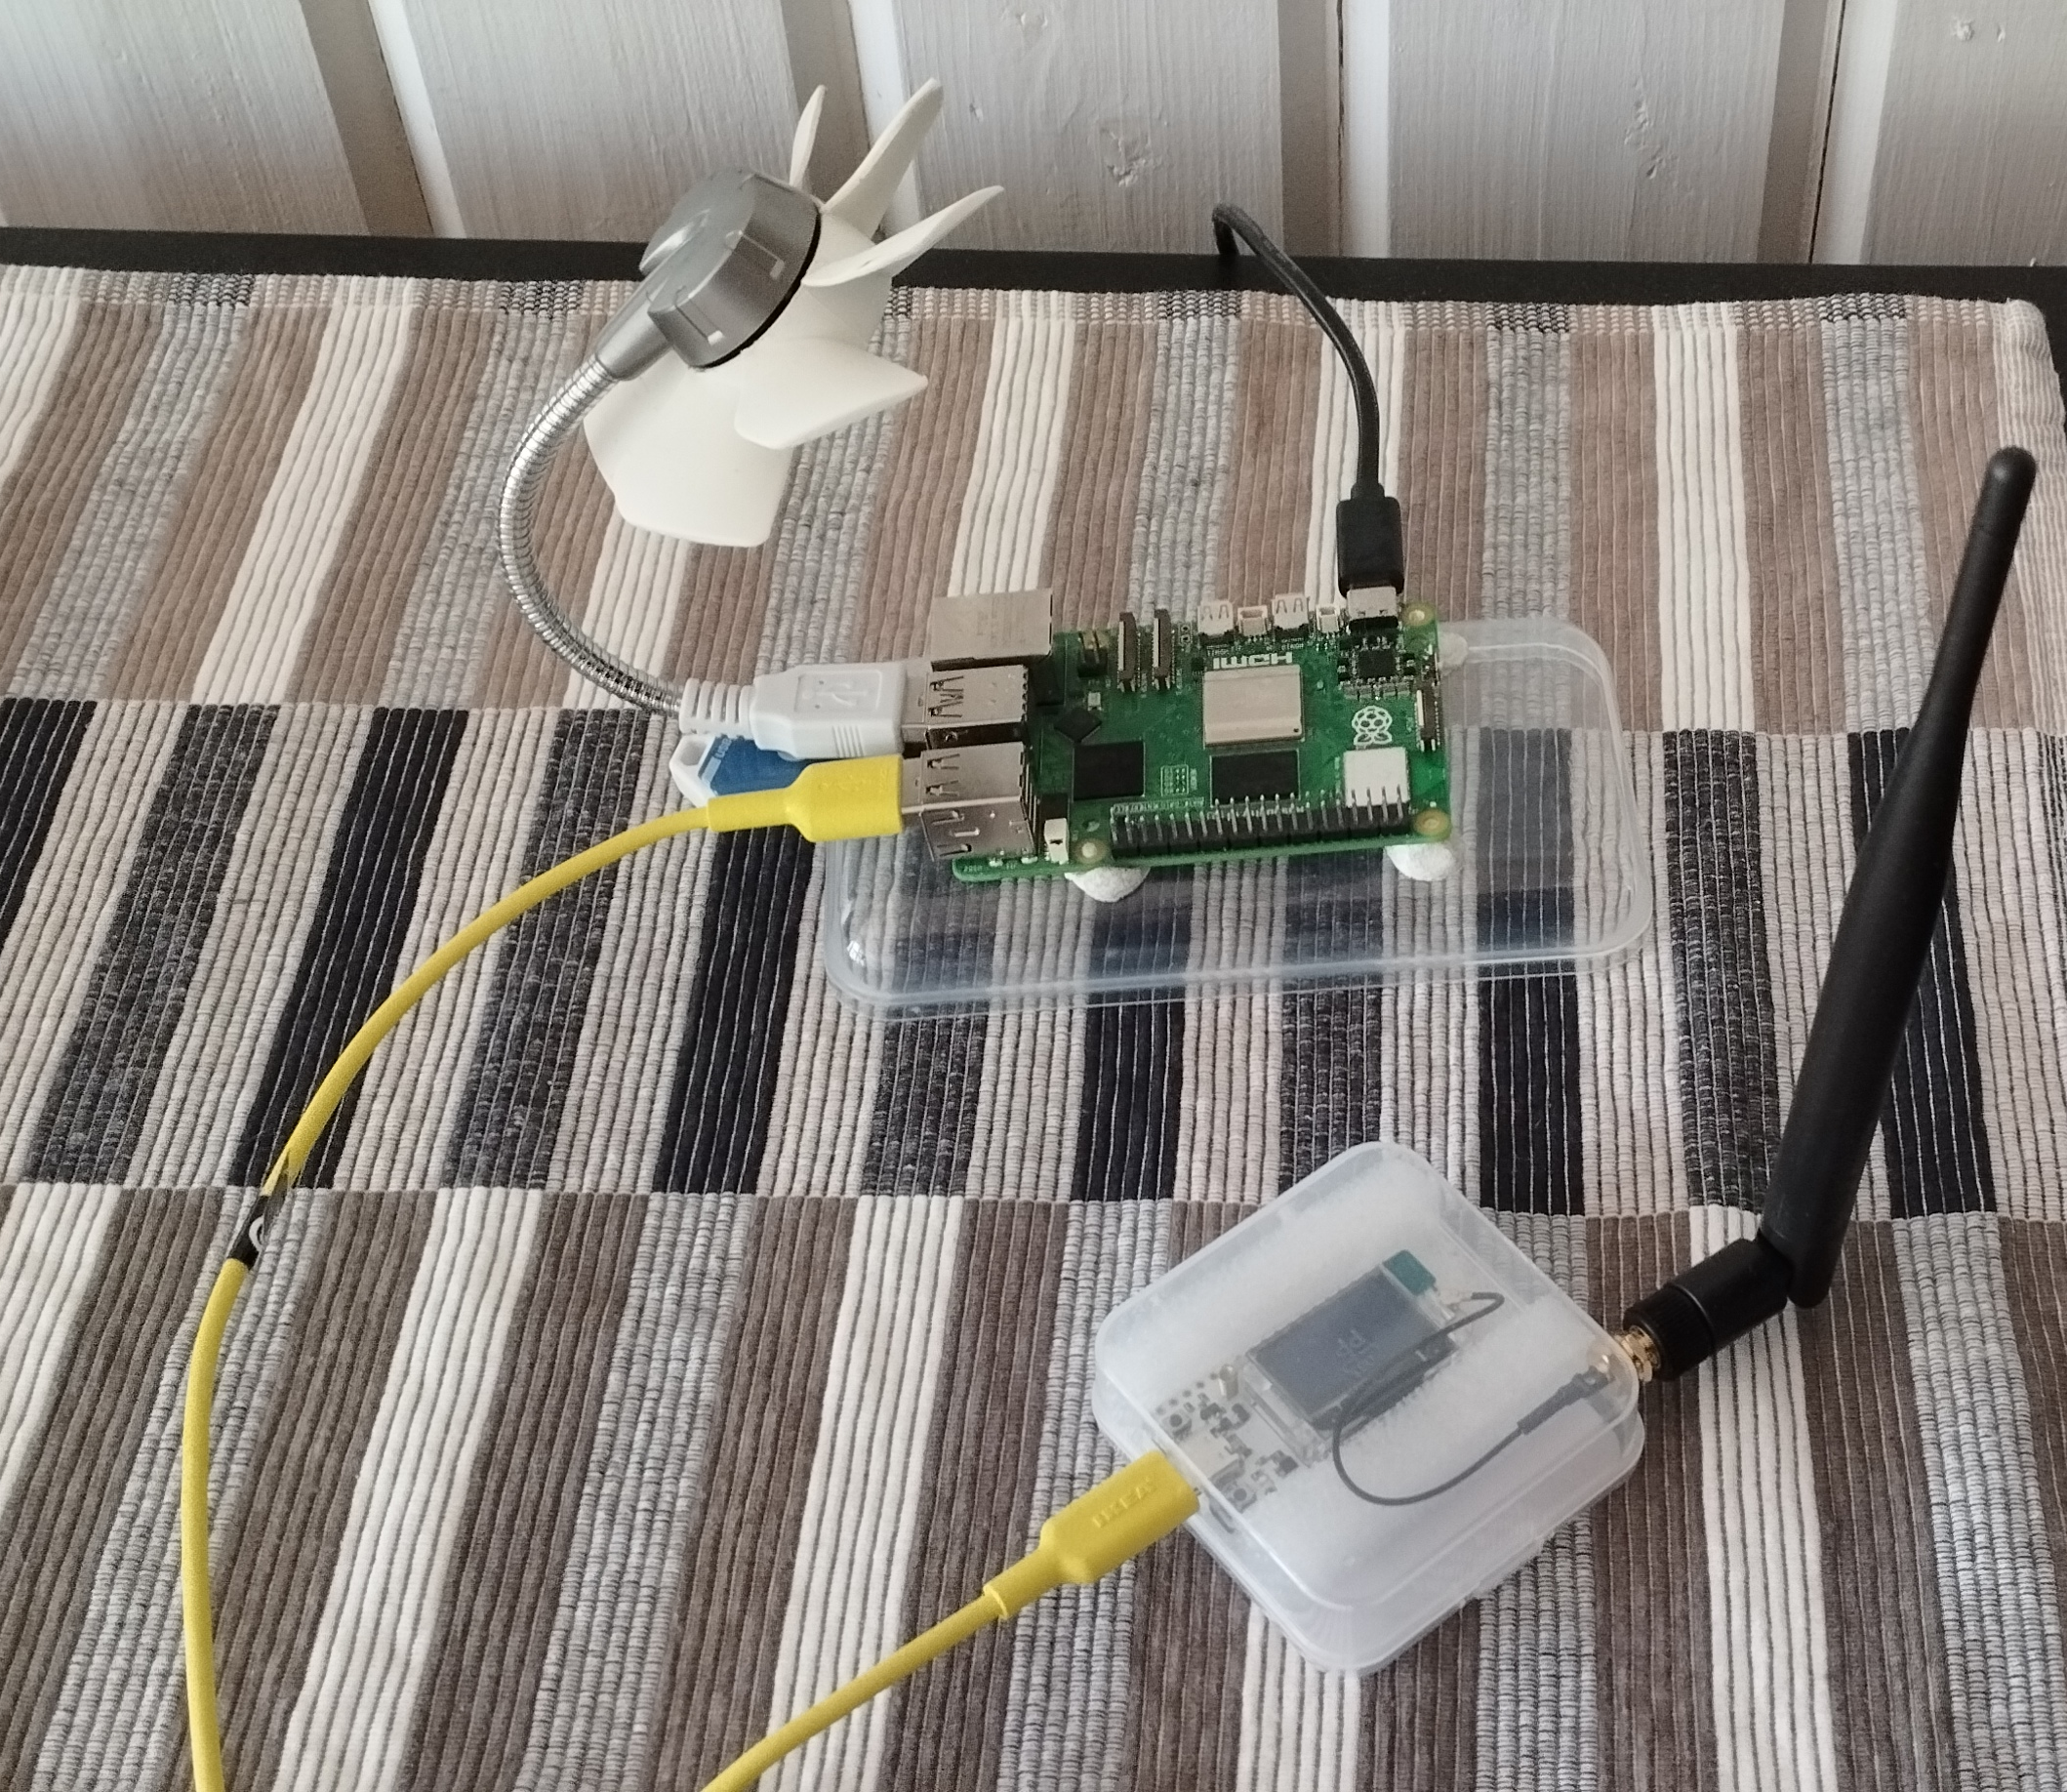
Things improved a bit when I connected the base node to a Raspberry Pi and accessed the Meshtastic web messaging app. At least now, when I got back to my workstation, I could review the messages that had come in. A definite step forward — but I couldn’t shake the feeling that I could do better.
That’s when the idea for Mesh_Helper was born. It’s not a replacement for a friend helping out on the other end, but if you’re on your own, it’s a solid stand-in. This post is about why I built it, what it does, and how it’s already been useful in my own experiments.
Why I Built Mesh_Helper
As mentioned earlier, I wanted to figure out just how far I could go and still reach my base node. But I didn’t have someone on the other end to help monitor messages in real time. On top of that, I was curious to explore what you could actually do with the Meshtastic Python API.
The first version of Mesh_Helper was simple — it just looked for a message and echoed it back like a parrot. But soon, I thought: what if I could send it a GPS coordinate and have it calculate the distance from the base node? So I added that.
While exploring the packets coming from the node, I noticed they included useful signal information, such as rxRSSI and rxSNR.
Here's an example of a raw packet:
{
        'from': 3224779633,
        'to': 3224774033,
        'decoded': {
            'portnum': 'TEXT_MESSAGE_APP',
            'payload': b'Test123',
            'bitfield': 0,
            'text': 'Test123'
        },
        'id': 1997213763,
        'rxSnr': 6.75,
        'hopLimit': 3,
        'wantAck': True,
        'rxRssi': -29,
        'hopStart': 3,
        'publicKey': 'oQ8aMsygxQiA************************=',
        'pkiEncrypted': True,
        'nextHop': 156,
        'relayNode': 88,
        'fromId': '!749b7999',
        'toId': '!749b5999'
    }
With this kind of data available, I thought: why not extract and log it? rxRSSI (Received Signal Strength Indicator) tells you how strong the received signal was in dBm — lower numbers (like -90) indicate weak signals, while values closer to 0 (like -30) are stronger.
rxSNR (Signal-to-Noise Ratio) reflects the quality of the signal; a higher number means the signal stands out better from the noise.
Once I had that working, I figured I might as well log everything to a file so I could later compare antenna setups or different node placements. What started as a simple echo bot quickly turned into a useful testing tool — and a fun playground for learning the Meshtastic API.
How It Works
I love my little Raspberry Pis — they’re perfect for small projects like this. So naturally, I installed and ran the Python code on one of my Pi units. Once it's up and running, I can pretty much begin testing immediately.
Right now, I've implemented four basic functions. These are triggered by sending direct messages (not broadcasts) to the base node. Even if I believe no one else is on the mesh, I prefer to avoid cluttering the main channel — and if you're doing something similar, it’s probably a good idea to set your mobile node’s Max Hops to 0, just in case.
- Distance: lat, long — Copy a set of coordinates from Google Maps and paste them into a message. If the base node receives it, it replies with the distance to that location.
- Signal: — Returns the
rxRSSIandrxSNRvalues as observed by the base node. - Time: — Replies with the current time from the Raspberry Pi.
- Any other message: — Gets echoed back. This helps confirm reception, and I can later review the logs when I get home.
All responses and logs are saved locally, which gives me a useful record for analyzing setups, signal quality, or comparing antenna performance over time.
The code is available on GitHub: LateForTrain/Mesh_Helper. You're welcome to download it, use it, or just draw inspiration from it.
Disclaimer: I’m not a professional developer — this is hobbyist code, and proudly so. If something doesn’t work or you’ve got questions, feel free to ping me on the Discord server — I’m there as @JohanV.
Final Thoughts
This is the joy of experimenting. Sure, my code might not be the most elegant. Maybe there are better ways of doing it. And yes, I may have reinvented the wheel instead of just using the built-in Range Test module in Meshtastic. But honestly? That doesn’t matter.
I got to play with the tools I enjoy and build something useful in the process. That’s what I want to challenge you with too: go out and experiment. Try things. Fail a bit. Try again. Learn as you go.
I hope to hear your stories soon — feel free to share them!
Written by @JohanV
2025-05-25